Beskrivelse
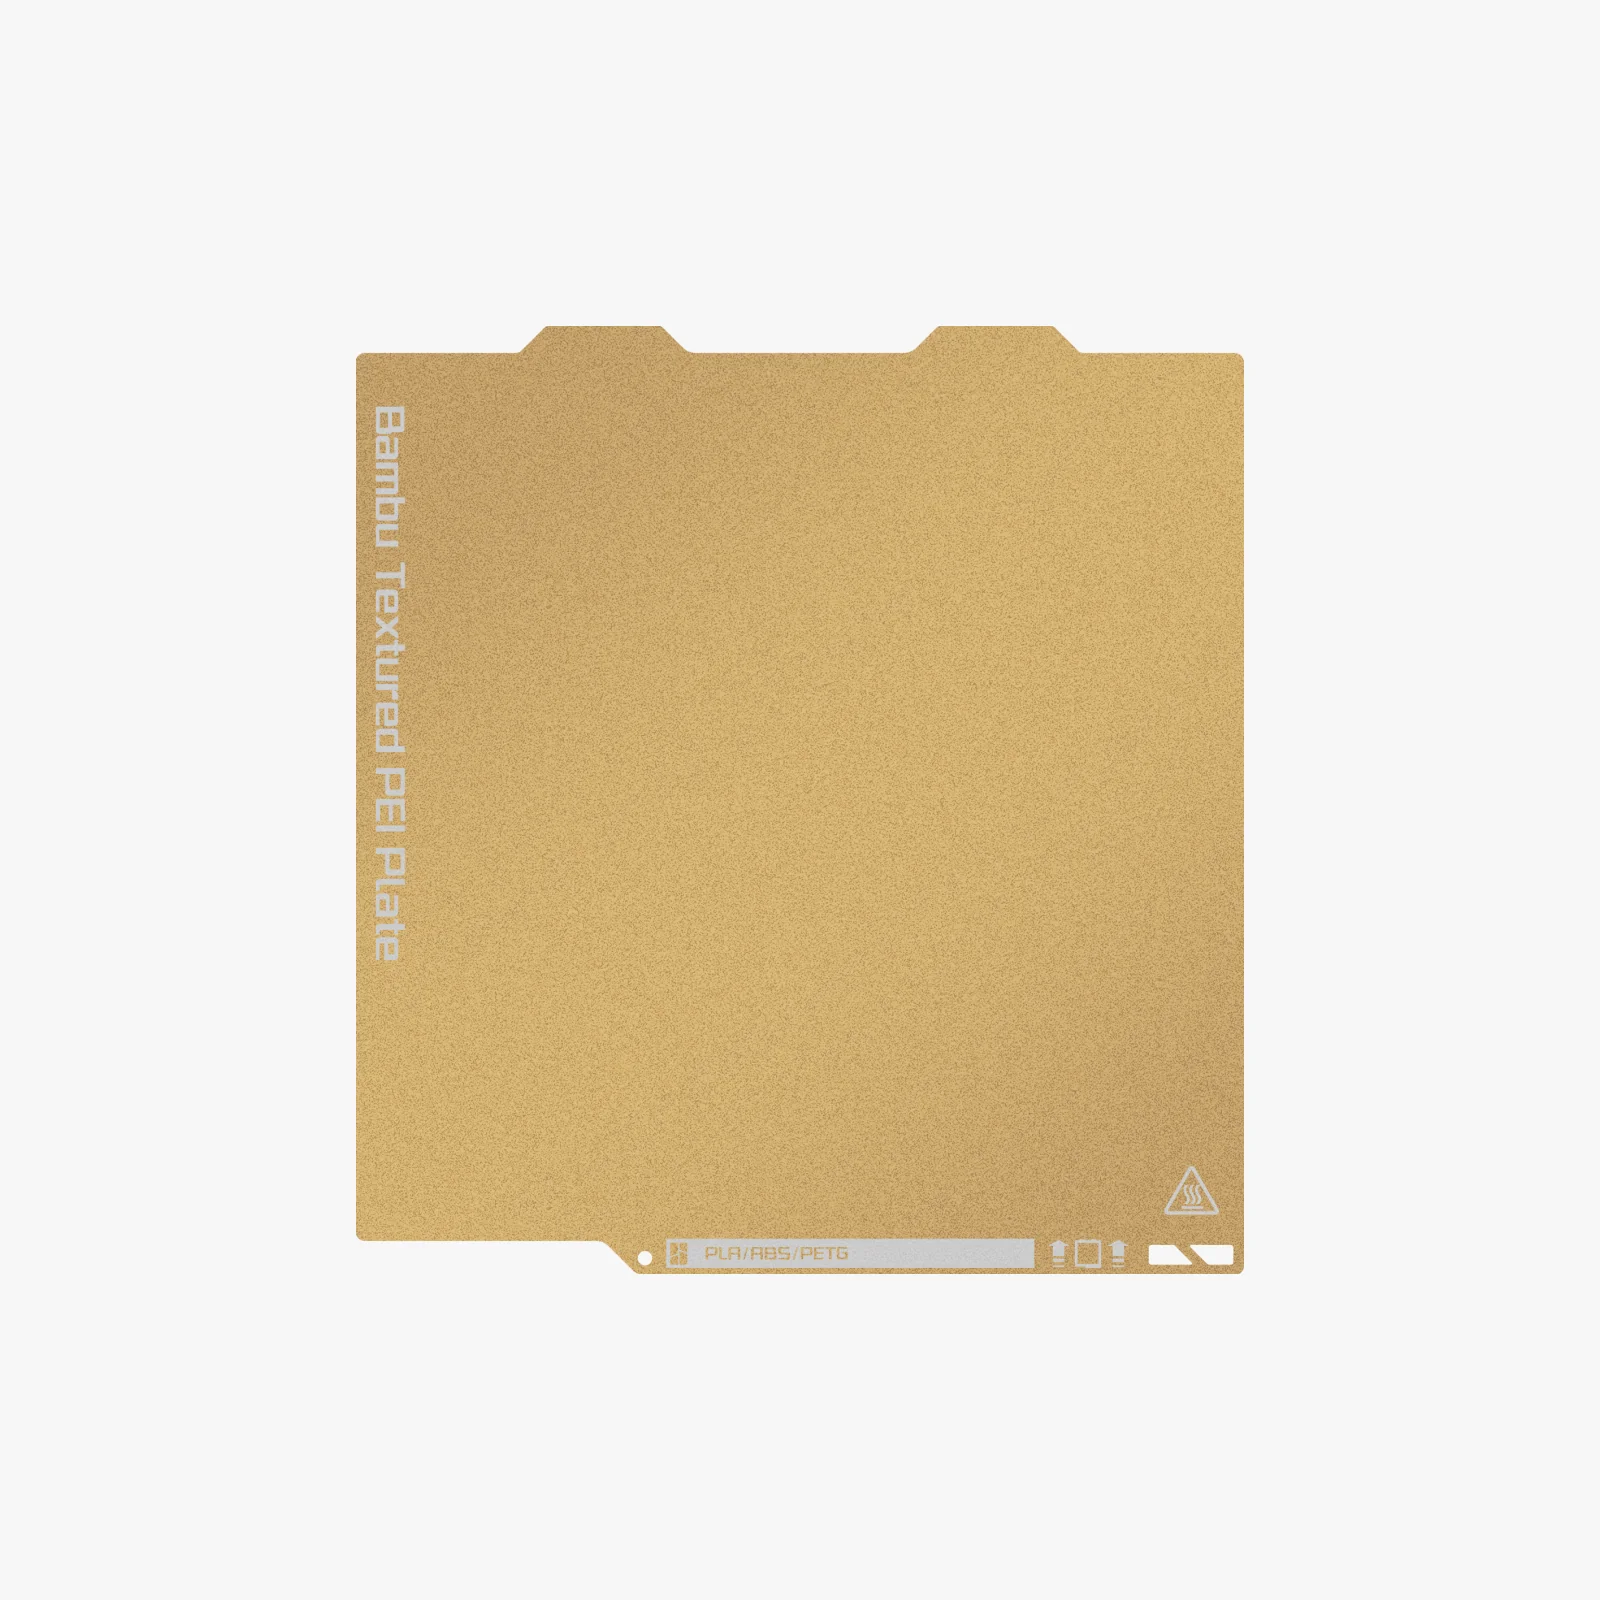
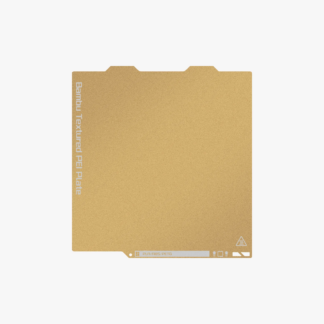
Bambu Dual-Sided Textured PEI Plate A1 mini
Recommended Settings
Please note that other slicer settings might need to be adjusted based on the printed model and the filament requirements
| Materials | Heatbed Tempe rature | Glue Stick Required? |
| PLA/PLA-CF/PLA-GF | 45~60℃ | No |
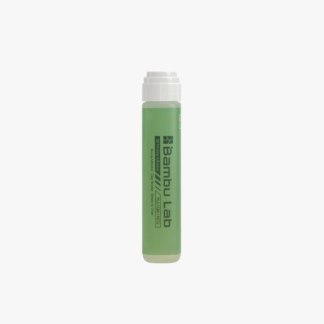
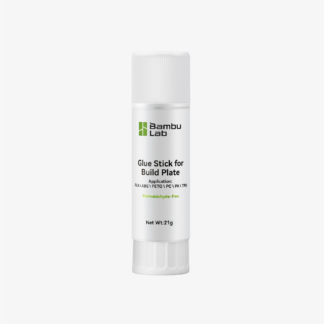
| PETG/PETG-CF | 60~80℃ | Glue Stick/Liquid Glue |
| TPU | 35~45℃ | Glue Stick/Liquid Glue |
| PVA | 45~60℃ | Glue Stick/Liquid Glue |
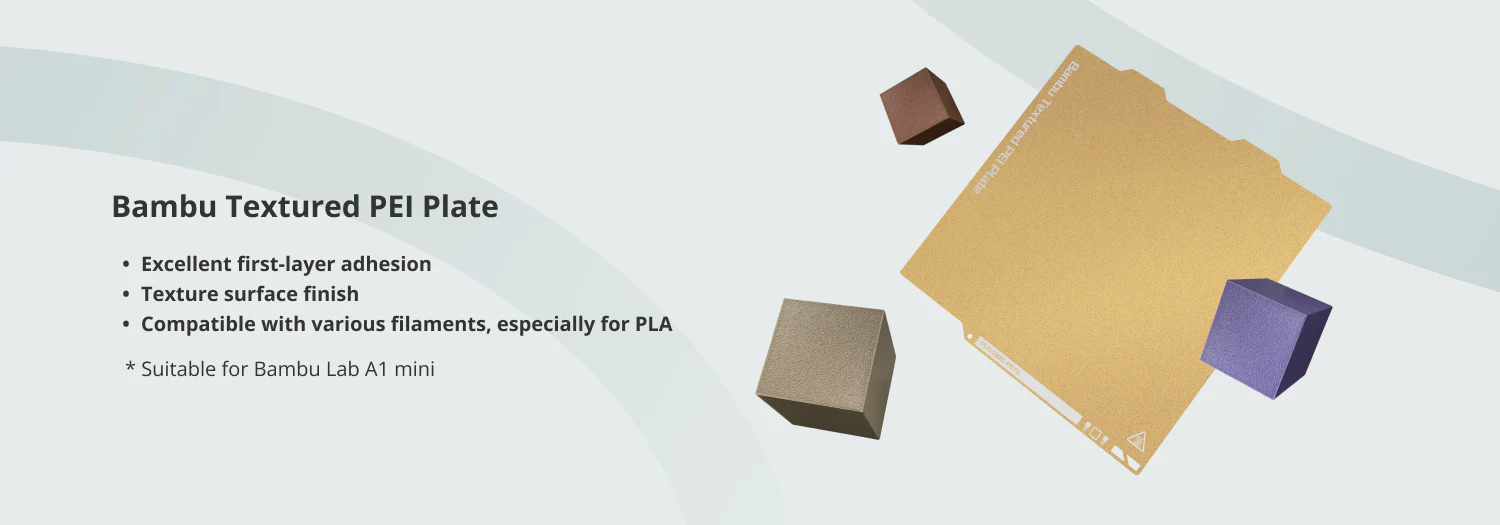
Excellent first-layer adhesion, Improved durability
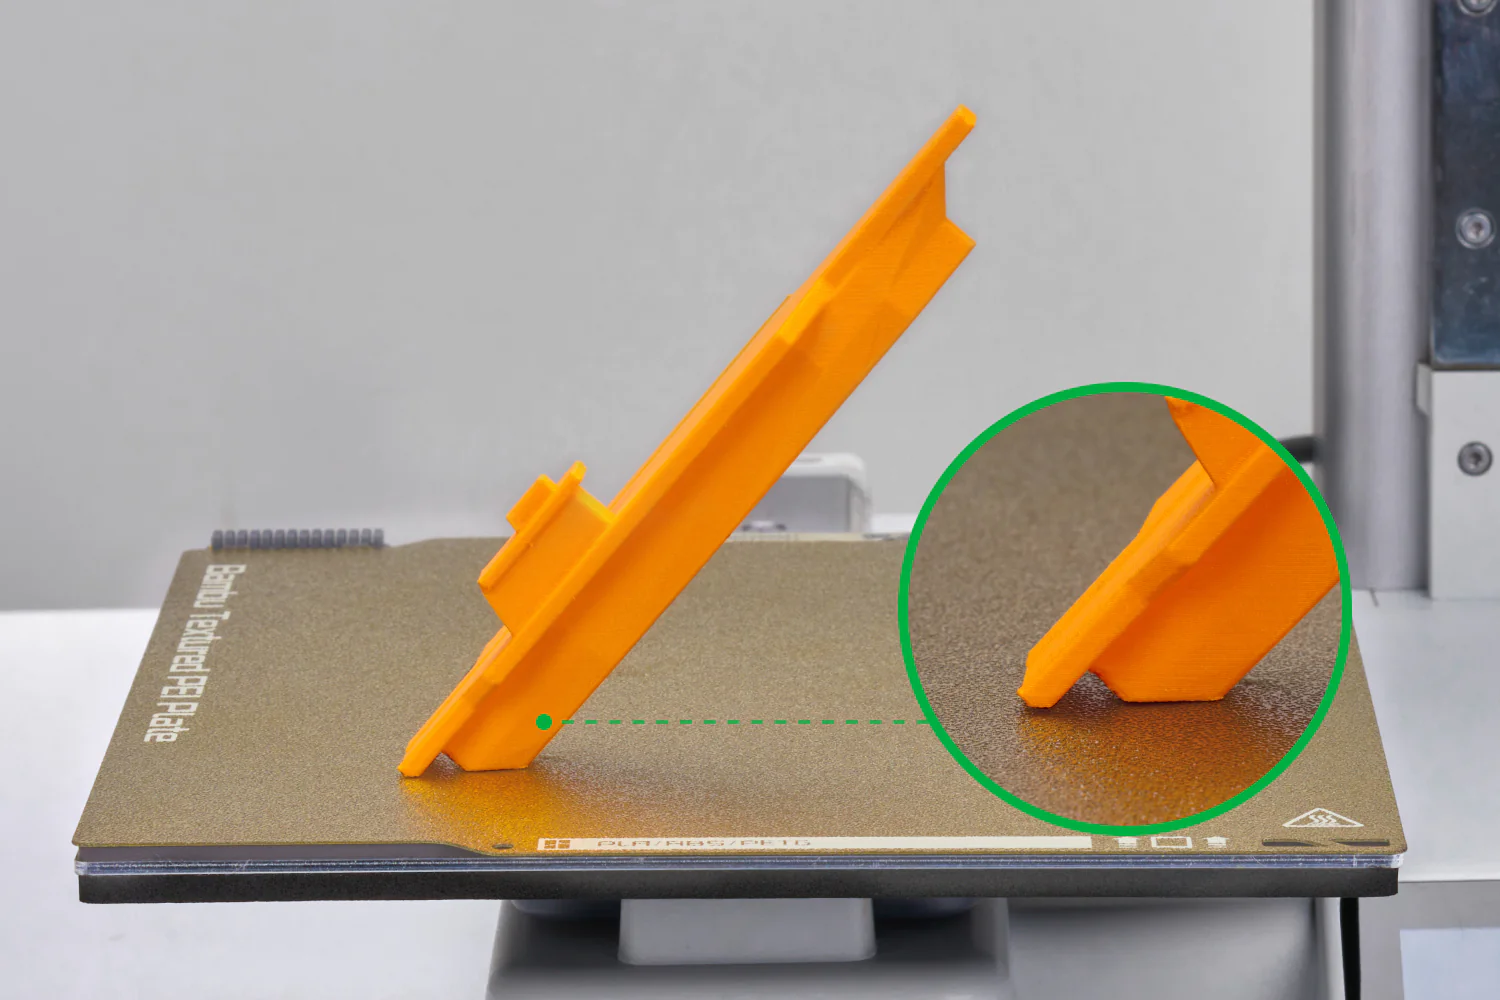
Self-release when cooled down
Textured surface finish
Bambu Texture PEI Plate offers a one-of-a-kind first-layer surface. Through the application of a powder-coating process, this PEI Build Plate creates a rugged texture that adds a texture to your prints.
Compatibility with various filaments, especially for PLA
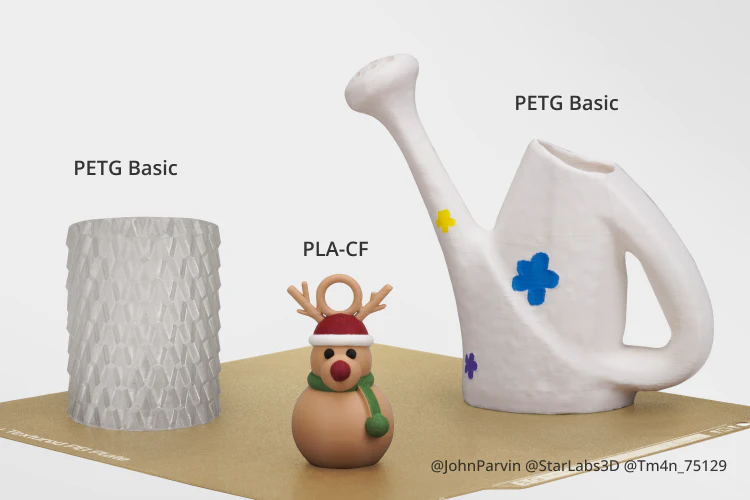
PEI enables printing with common materials such as PLA, TPU, PETG and PVA.
*Please apply liquid glue or a glue stick to prevent the sheet from tearing if print filament other than PLA
Considerations
- Increasing the temperature of the heatbed enhances the adhesion of the filament to the build plate. Users can adjust the temperature of the heatbed or apply glue if additional adhesion is needed.
- During the printing process, dust and grease on the surface of the build plate can negatively impact material adhesion. It is recommended to regularly clean the surface with detergent and water to eliminate any dust or grease residue first. If it doesn’t work, clean the surface with alcohol.
- Wait until the build plate fully cools down to prevents damage to the plate and prints when removing the printed parts.
- Do not clean the plate with acetone, as it will damage the PEI surface.
- Carefully sanding the surface with fine-grit (600 was recommended) sandpaper can help restore adhesion.
- The Textured PEI plate is considered a consumable part, which will degrade over time. The warranty will only cover manufacturing defects, not cosmetic damage like scratches, dents, or cracks. Defective sheets upon arrival are the only ones covered by the warranty.
Installation Steps
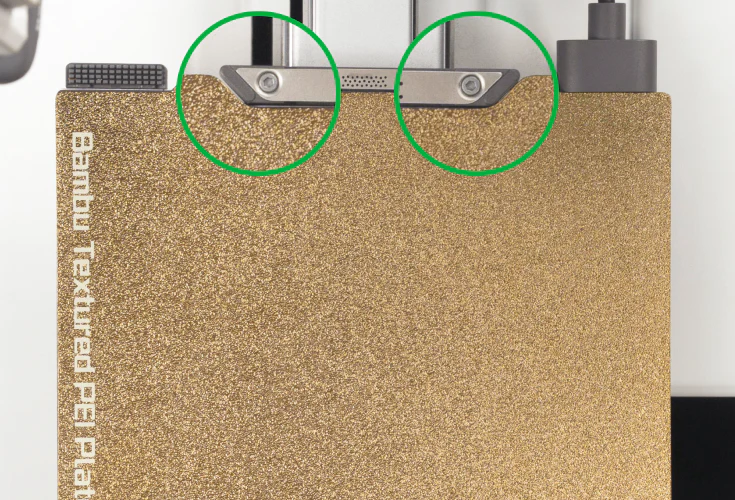
Step 1: Align the plate with the fixed points of the platform with the name of the plate facing you
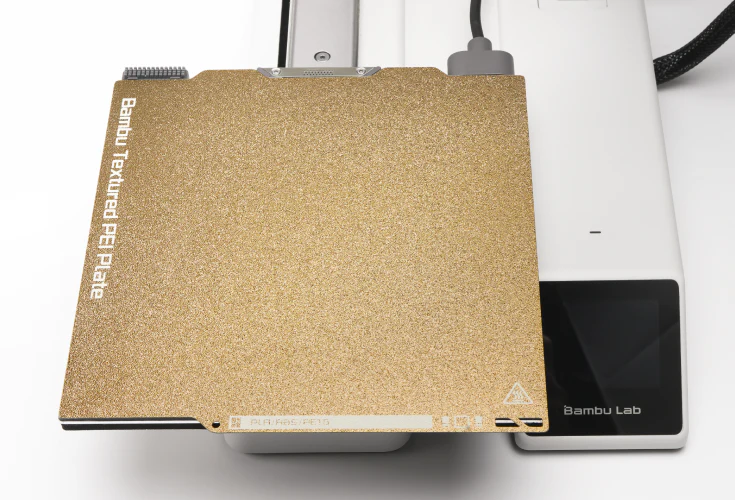
Step 2: Lower the plate and secure to the magnetic platform
